单片机烧录程序和调试方法。以51为例,介绍:如何编译程序,如何下载程序到单片机,以及接线图。
为了过程方便,通常会新建一个英文文件夹,这里以qq文件夹为例。将好的C 程序LED.C放入qq文件夹

打开keil软件,选择菜单栏的project,在它的下拉菜单里选第一个New uVision project,这里将这个工程命名为qq,并保存到我们建立的qq文件夹内,点击确定后,会弹出下面对话框

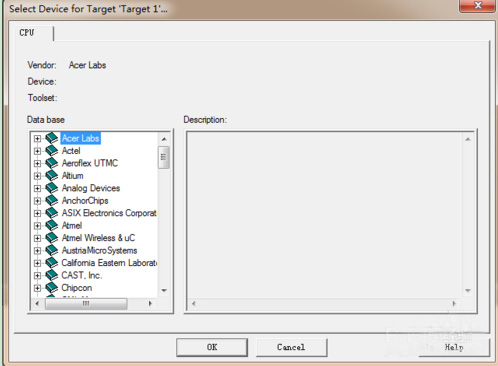
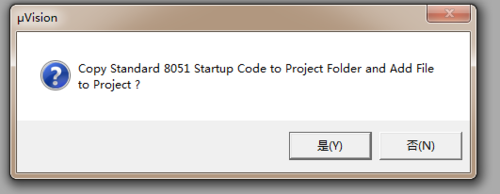
找到Atmel,在它的左侧有+号,点击会展开一系列芯片型号,找到AT89C51,点击并点选下面的ok,弹出下面的对话框,选择 否


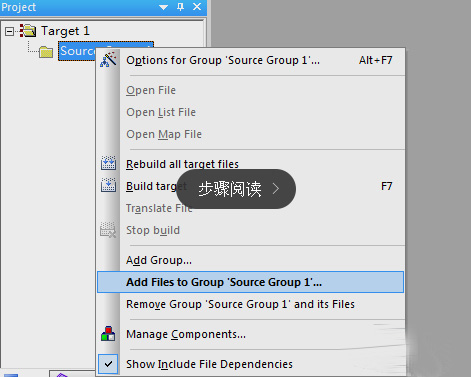
进入编辑页面后,看到左侧空白窗格的+Target 1,点击它前面的+号,弹出Source Group 1. 右击Source Group 1. 弹出下面下拉菜单,选择Add Files to Group Source Group 1


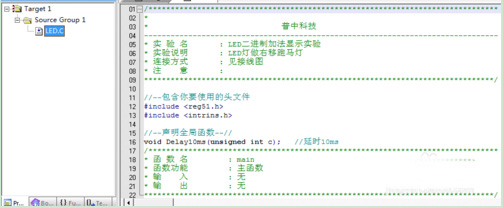
弹出的对话中,选择LED.C,点击add,然后点击close关闭窗口。点击Source Group 1的+号,就会显示出添加的LED.C文件,双击LED.C就会出现它的代码

右击+Target 1,并选择第一项,弹出下面对话框,选择debug,点上use,并选择keil moniter-51 driver


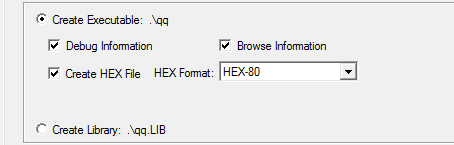
在点output选项,在creat hex file打勾,最后点击ok

回到编辑面,依次点击编译按钮,Target 1上面有三个带向下的箭头按钮,从左到右点击,回到qq文件夹看看是否有.hex文件,若没有在编译一次

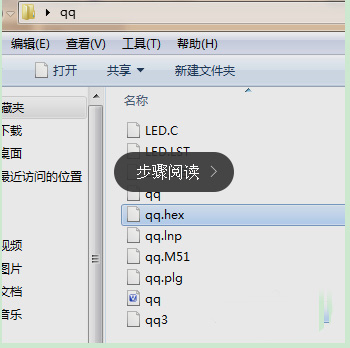
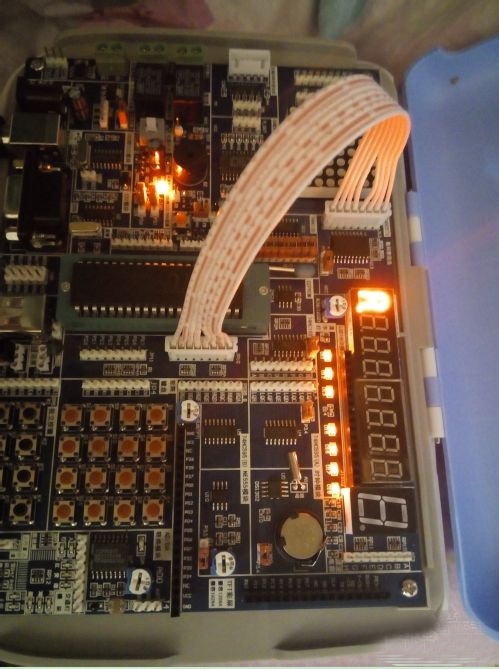
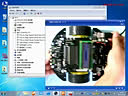
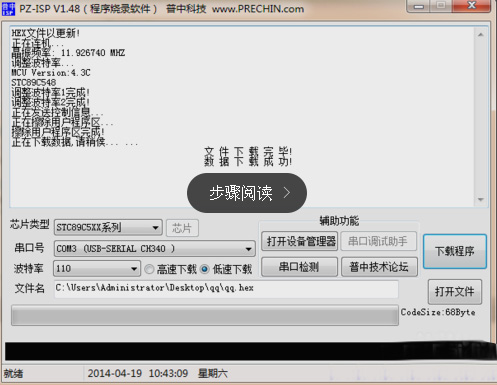
将单片机与电脑连机,打开烧录软件,选择低速下载,点击打开文件,选择建立的qq文件夹,打开后点击文件qq.hex,最后选择STC89C5XX系列,然后下载程序,成功后图片如下


接线图为p0端口与led